
A drone shoot is one of those things that need to get done right the first time around. In many cases, there's limited time available to capture that perfect set of shots and the client quite literally 'doesn't have all day.'
So while it might be tempting to go above and beyond to impress the client or try out some new technology or photo technique found on the internet, these are the core fundamentals that form the basis of every successful drone photography shoot we've done in Western Massachusetts in the past 10 years.
Factors That Make a Successful Drone Photography Shoot
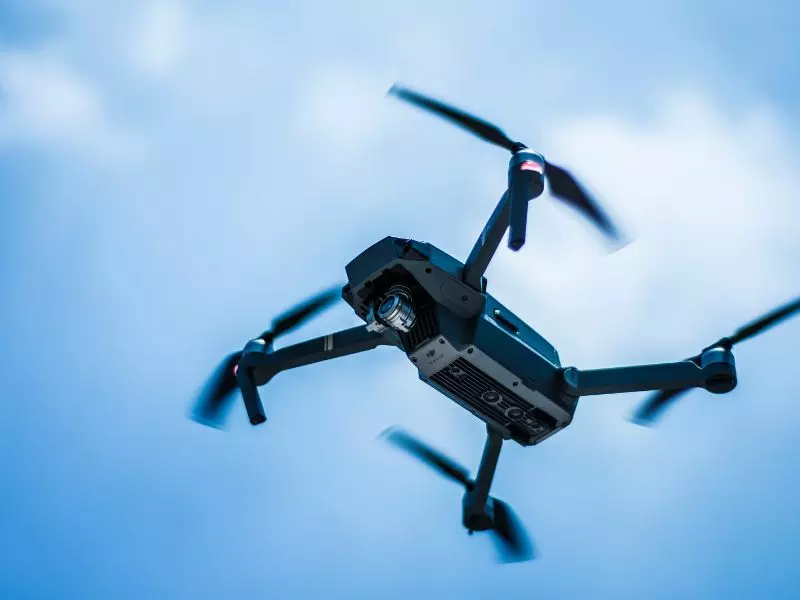
Drone Factors
Choosing the Correct Shoot Height
The unique thing about drone photography or even more so with drone videography is that flying low to the ground or close to the subject of the shoot can give viewers the perception that their right in the thick of the action. It makes them feel connected with the object of the shoot more so than a wide-angle shot. So unless the shoot calls for it, try as far as possible to get in close and capture those details that are easily missed.
Choosing the Correct Shoot Speed
With drones, you're not just limited to shooting at one speed. Drones can fly fast or slow but what's important is choosing the right speed for the desired effect. If you want a sweeping cinematic shot, then choose a slower shutter speed so that when combined with the drone's movement it will give viewers a sense of scale and scope.
Choosing the Correct Shoot Direction
This is one of the most commonly overlooked factors in drone photography but it's also one of the most important. The direction you choose to fly your drone will have a big impact on the final shot. For example, flying directly toward the sun will give your image or video an otherworldly look while flying away from the sun will result in a much more natural and balanced shot.
Choosing the Correct Shoot Distance to the Object
Just like with regular photography, the distance between the drone and the object being photographed will have an impact on the final photo. For example, if you're taking a picture of a person, getting too close will result in an image that's too close up and personal while getting too far away will make the subject look small and insignificant.
Choosing the Correct Drone Gimbal Movement
A gimbal is a mechanical device on a drone that keeps the camera pointed in the same direction as the drone flies; it's important to choose the right gimbal movement for the desired effect. For example, if you want a sweeping cinematic shot, then you'll want to use a panning gimbal movement. Getting this movement wrong can mean communicating a vastly different narrative than what the client would ideally like.
Other Drone Shoot Factors to Consider
Checking The Weather
This is probably the most important factor on this list because no matter how good your drone photography skills are, you can't control the weather. If you're shooting in an area with a lot of trees, then windy conditions are going to make it very difficult to get stable shots.
Clutter-Free Composition
When taking photos from the ground, there are all sorts of objects in the way - power lines, buildings, cars, people, trees - the list goes on. But when you're up in the air and looking down at your subject from above with a drone, suddenly all those obstacles have disappeared and you have a completely unobstructed view. This means that you can now focus on the composition of your shot and get the subject of the photo to look just right in the frame.
The Rule Of Thirds
We're sure you've heard of this one before, but it's worth mentioning again here. The rule of thirds is a basic photography composition rule that states that an image should be divided into thirds, both horizontally and vertically, so that you have nine equal sections. The main subject of the photo should then be placed along one of those lines or at the point where those lines intersect. This will help to create a more balanced and visually appealing shot.
Leading Lines
While the rule of thirds will help to create a balanced photo, leading lines will help to draw the viewer's eye into the photo and towards the subject. This can be anything from a road or path that leads up to the subject to a line of trees or even power lines. Leading lines give the photo a sense of depth and make it more interesting to look at.
The Golden Hour
This one is more of a general photography tip, but it's still worth mentioning here. The golden hour is the period just after sunrise or just before sunset when the light is softer and warmer. This is generally considered to be the best time to take photos as the lighting is much more flattering than in the middle of the day.
Plan Your Shot
One of the advantages of drone photography is that you can see your subject from all sorts of different angles and perspectives that you wouldn't be able to get from the ground. This means that you can plan your shot so that you know exactly what you want to capture and how you want to frame it. This is especially helpful if you're working with a limited amount of time as you won't have to waste time flying the drone around trying to find the right angle.
Edit Your Photos
Last but not least, don't forget to edit your photos! Even if you manage to nail the composition and lighting of your shot, there's always room for improvement with a little bit of post-processing. Editing your photos will help to bring out the best in them and make them pop.
Conclusion
For Drone Shoots in Western Massachusetts that have the highest possibility of success, be sure to give us a call. From Real Estate Drone Photography to Drone Wedding & Event Photography, Drone Construction Site Monitoring, Drone Inspections, and more. Our team does it all.
Following these seven factors will help to ensure that you capture the perfect shot every time.